Forking painting
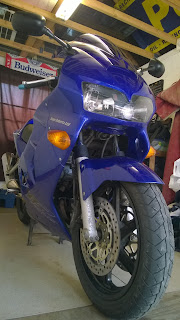 The fork legs (being a Honda) were grot and needed a paint since I bought the bike.

Suffice to say three years hadn't improved matters.
It was time to get the rattle cans out...
...Again

Prep wise I:
- Removed the front wheel.
- Removed the front calipers and tied them up out of the way.
- Removed the mudguard, identified it was cracked and set aside.
- Spent an absolute age cleaning the fork legs.
- Taped up all of the bits I didn't want to become silver.
I didn't bother stripping the old paint back as this is my daily ride not a show bike and I didn't want to loose the casting marks as they help the paint key in.
I used some Audi aluminium silver paint which is a touch brighter and more metalic than the paint Honda use but I think looks great. I had used this on my RD headstock in the past which came out great so I had high hopes of it working here too.

Coats were left to dry for 20 minutes before the next was applied which gave me time to look for other things to do such as: drink tea, clean and grease wheel spacers etc.
There was also the issue of the cracked mudguard which I repaired with some polyurethane 2 part adhesive. This was supported on the inside with some plastic mesh and the adhesive worked into the crack so it not only glued the damage but also supported it from the inside.
Once I was happy the colour was even I applied a few coats of extra thick clear coat from Halfords. You can really layer this stuff on without it running. It is very good and quick to get enough on. It adds a bit of gloss but thankfully being thick it isn't too bright.
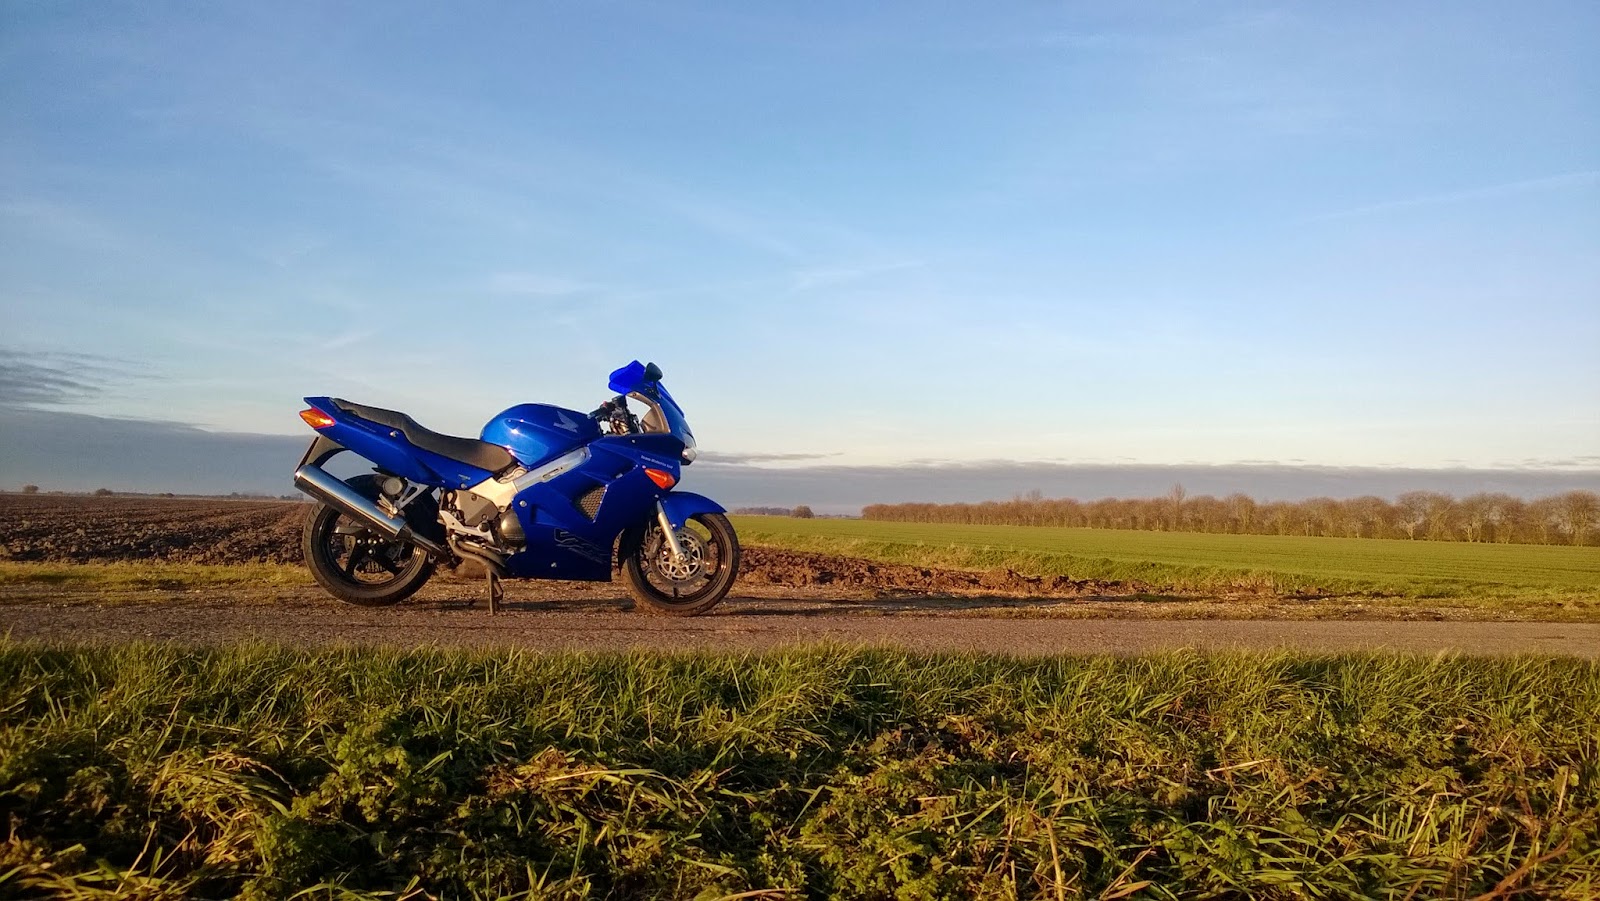
After everything was dry I rebuilt the front end and there you go like newish!

Comments
Post a Comment