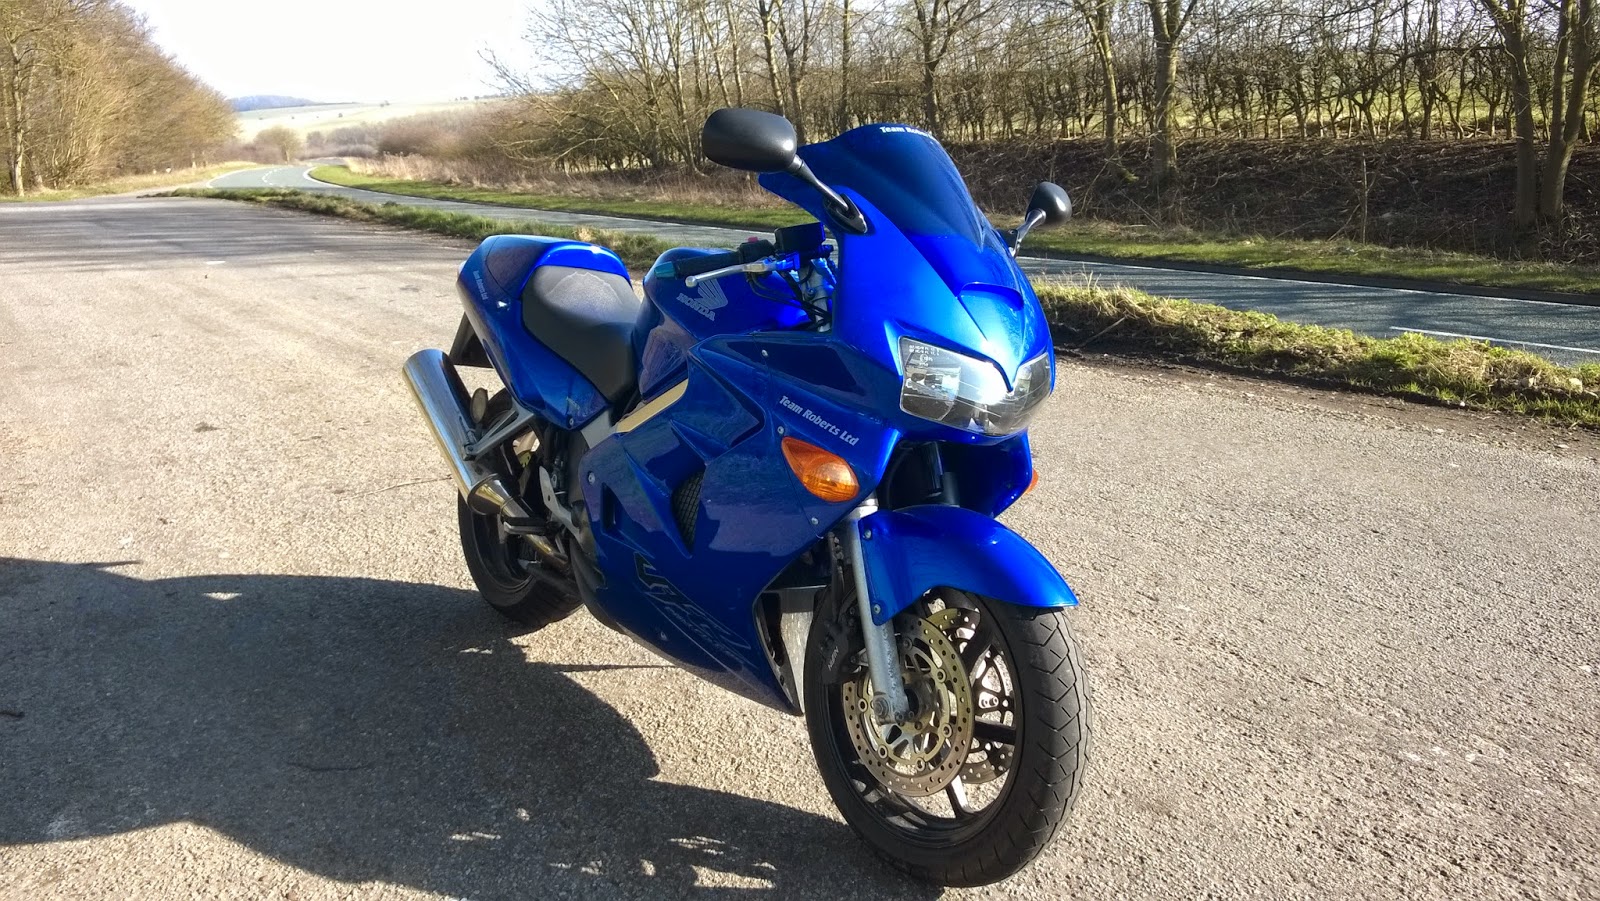
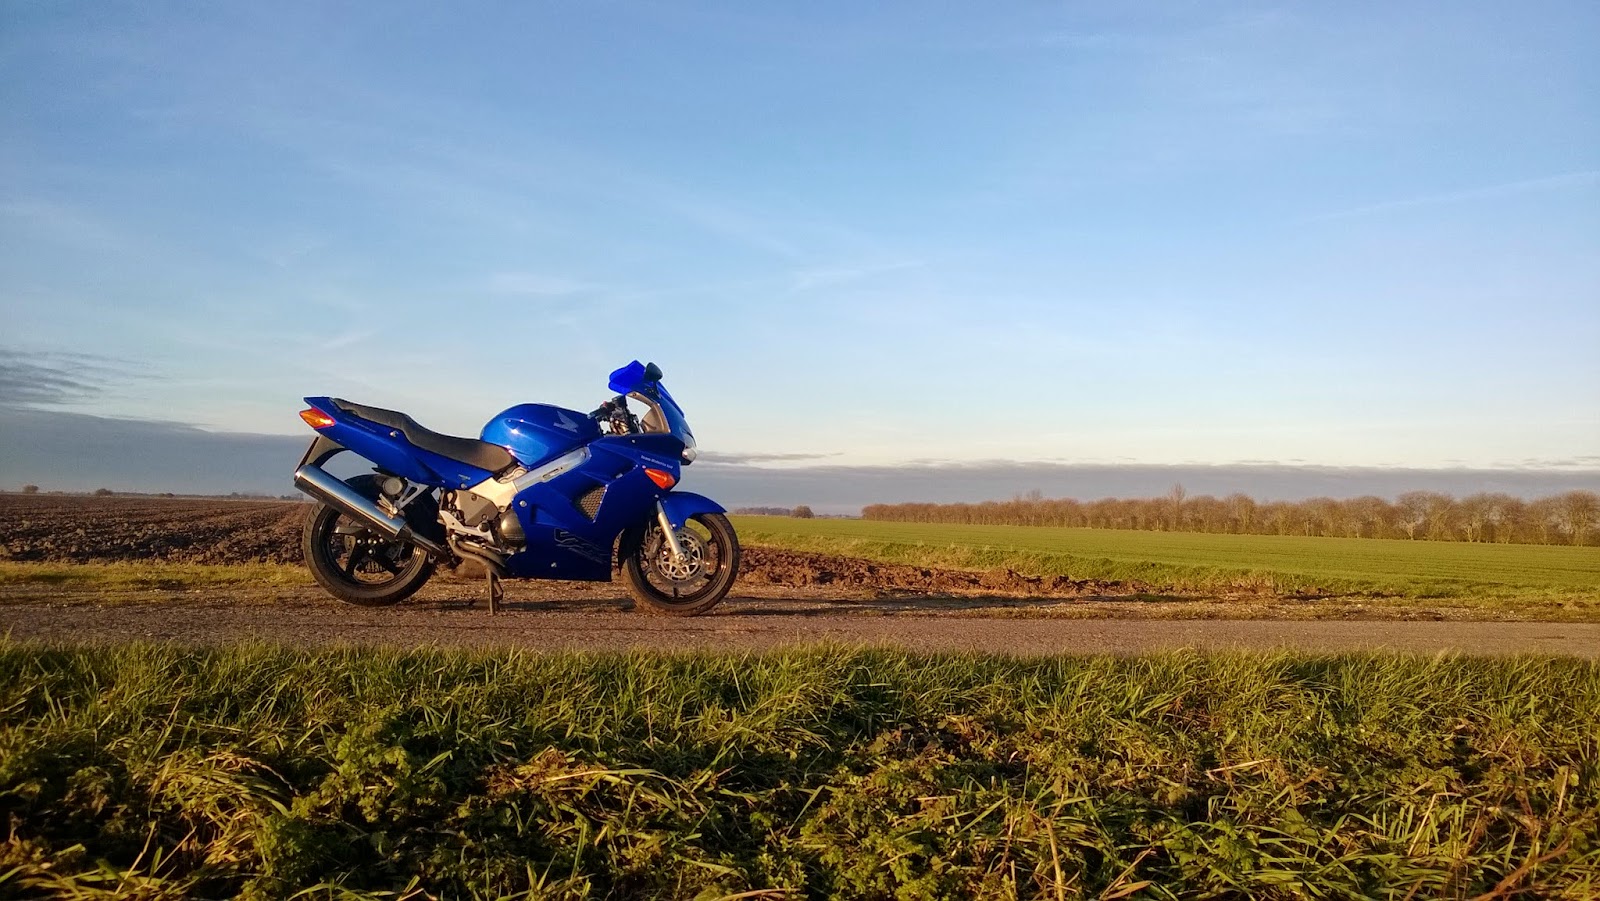
Posts

Showing posts with the label 800

Forking painting

Image
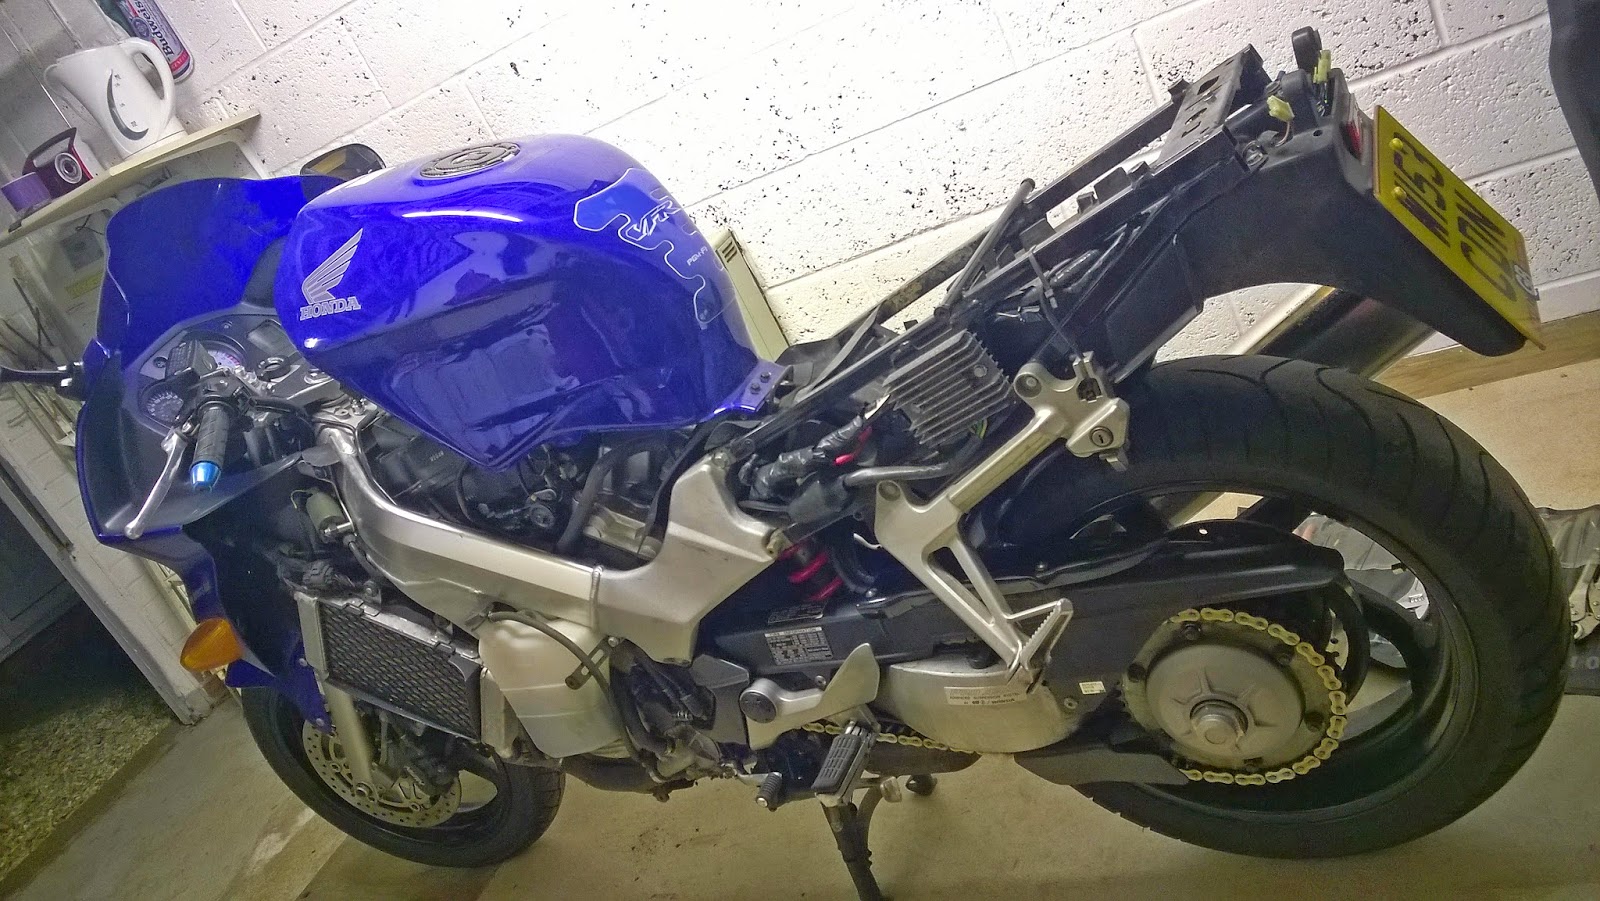
The fork legs (being a Honda) were grot and needed a paint since I bought the bike.  Suffice to say three years hadn't improved matters. It was time to get the rattle cans out... ...Again Prep wise I: Removed the front wheel. Removed the front calipers and tied them up out of the way. Removed the mudguard, identified it was cracked and set aside. Spent an absolute age cleaning the fork legs. Taped up all of the bits I didn't want to become silver. I didn't bother stripping the old paint back as this is my daily ride not a show bike and I didn't want to loose the casting marks as they help the paint key in. I used some Audi aluminium silver paint which is a touch brighter and more metalic than the paint Honda use but I think looks great. I had used this on my RD headstock in the past which came out great so I had high hopes of it working here too. There was a lot of wind whilst painting resulting in some areas I hadn't t...

Taking [Head] Stock

Image
When I firsts purchased the VFR it had a carbon effect cover on the headstoch which looked okay. I however do not like "Carbon effect" and it was a little dog eared so I removed it. This left the standard silver headstock that was showing every day of its age. This had to go Jobs like painting your headstock do take a while to come into effect and it is only now that I decided to give it a go. To get to the headstock I had to: Remove the clutch and brake reservoirs from the clipons. Remove the clipons. Remove the HISS system. Remove the instrument cluster fairing. Partially remove the instrument cluster. Unplug the ignition and free the loom from its tie wrap under the instrument cluster. Partially remove my knuckles doing so. Undoo the headstock nut. Withdraw the headstock with the aid of a hide face hammer. Having successfully killed an hour or two doing that I now had my headstock free. First things first; I cleaned everything metic...

Clear and bright

Image
I have wanted a clear brake light on the VFR for a little while. When I decided to crack the original lens whilst placing her on the centre stand (NSR got in the way) I opted to spend a tenner more and bought the clear LED unit to replace it. Fitting is fairly straight forward. Just remove the tail unit, disconnecting the wires to the tail light and then unscrew the two bottom screws and inside pair pictured on the right. The LED brake light unit  I opted for uses connectors that replicate the bulbs you would have normally fitted . The bulb holders you already own however wont fir and you have to use the cut down versions that come supplied with the brake light unit.  Once connected it is the reverse process to fit the new brake light unit and pop everything back together. The indicators have resistors prebuilt in so there is no effect to the indicator flash speed. The new unit looks a lot nicer and when the front indicators get changed it should help s...

Plug and pray

Image
I have delayed submitting this blog as I had hoped to get it all sorted before submitting bt it has been months and I haven't got round to it. I will probably update this one or publish a follow up blog when/ if I ever progress this mod. Having just spend the best part of eight months away from my VFR and  NSR250 MC28 , I had found that buying bits for them made me feel a little less sad. First on my list to fit was a powercommander V (from here on refereed to as pc) that I had picked up second hand off of a chap in the states for £100. Ever since fitting the air filter and exhaust system I have wanted to get one as I knew the fuelling would be off and now I had one that I could just "chuck in". As I'm sure you may be wondering already, I was aware that Dynojet don't make a pc V for the fifth gen bikes only the pc III USB. I had quizzed the guy selling it prior to bidding as the part number was for an 09 VTEC (sixth gen) but he told me he had removed it f...

Plug it and go play

Image
Plug it and go play Having spent some more time away from the bike I was left thinking: Sealing the exhaust up hadn't stopped it popping so what was causing it? "Well popping is caused by air getting to the exhaust so either you did a crap job of tightening up the header pipe or it's the PAIR system" I thought to myself. The PAIR valve allows fresh air into the exhaust system to continue the burn of the exhaust gasses on their departure to lower the emissions. This should create no problems with the standard end can but put a straight through can on it and you might get popping and banging on the overrun.  Maybe I needed a step back from the bike to see this but I thought what harm can it do to try? as it happens the task is quite reversible and doesn't cost anything to simply block the system and if it works I might go ahead and remove it completely. PAIR valve isolation With the aid of the Haynes manual and this guide from VFR discussions  I got to ...

The Stud that told me about it.

Image
If you have previously read about my pipe fitting fun  then you will know I managed to snap a stud in the process. With the increased decibels of a full stainless system with carbon can I had not noticed much noise but as time wore on and a bit of exuberant riding later a noticeable splutter on the over run was starting to become creep in. Extraction Stud extraction is a pain. VFR800 studs are something else. At only 6mm they snap easy and are a bugger to remove. Luckily for me the stud had gone just under the nut so I had something to grip onto. I had been soaking the stud in anti-seize compound for a while so I was fairly well prepared for this. Clothes off (the bike not me), pipes displaced and sat in the garage I was ready to tackle this. With no threads or welding equipment another nut was out of the question so I went for a stud extractor I had spotted in a mates tool kit. I had planned to use easy outs so this was a bonus. Stud Extractor  After a falt...

Getting hot and bothered

Image
Image credit  gabitzu79 We get used to our bikes letting us know they have a problem when they vomit their guts up over the back tire so when the dash board starts blinking at you, you are faced with a mix of annoyance at a new problem but relief that you aren't pushing a dead bike back home just yet. The PGM FI unit lets you know it is having bother by leaving the FI light on when the ignition is switched on. To find out the problem you just flick the side stand out and it will blink a code at you in a series of dashes and dots (long and short blinks). The dots are worth 1 and the longer dashes are worth more (I don't have my Haynes manual to hand to give you values, I had a look online and there is allot of bad advice on there from VTEC owners who have a different setup). With this information at hand you can refer to your trusty Haynes manual and pointing you in the general direction of the fault. I initially misread this error code as an injector not working pr...

On balance

Image
One of the first tasks I normally perform on a new (to me) bike is to balance the carburettors. This is one of those jobs that never seems to get done as you need specialist tools but can make quite a difference in the day to day running of the bike.  "But wait Gavin, that's an injected motorcycle" I hear you cry. Well this is true but you can still balance the throttle bodies and mine are all over the place.  When I first purchased this bike, the tick over was up at 3.5k rpm when warm. I bottomed out the idle screw and had to also wind back the whole throttle body plate in order to get it near to the 1.5rpm correct idle. Now this might have had something to do with the bike massively over compensating for having a mouse house in the airbox  but with that small obstruction removed I knew the throttle body balance would be out after my fiddling. The first thing obstructing me from doing this right in the first place was that I had lent my carb gauges to a...

Screens and Screams

Image
 I have never been a fan of coloured screens. It was a big fad with the Gixers to put blue screens on them and I hated it. So despite the fact that in some pictures this screen looks okay I still wasn't a fan. I have had double bubble screens in the past and suffered with melted clocks as a result of them focussing sun light into a clock killing death ray. A quick fix is to wedge a bit of card or your gloves into the bottom of your screen when you park up outside but better still you can paint the inside of the screen at the bottom. A more permanent and elegant solution that I did to my CBR600 FX. As it happens, Powerbronze screens come pre painted and have a nice VFR logo on them. So, as I had accumulated allot of Nectar points, I spent them on a new screen on eBay. The screen is held in by the mirror stems and a cover on the inside of the  front fairing. On the old screen there is also a clip that fits into a slot in the fairing and is slid down to lock it in place and ...

Slow your road!

Image
Slow your road! All good things must come to an end; like roads for example. So to improve my bikes ability to avoid hedge diving I picked up some front braided lines. These are in improvement over the OEM hoses as they are stronger, so less prone to bulge under heavy braking. They are also lighter which helps with unsprung weight (something that I am really not bothered  about on this bike). As the old hoses were, well, old. The replacement hoses were doubly needed to bring back a more responsive front brake. As it so happened a helpful chap decided to write his VFR off and chose to break it so I was able to get this Goodrich aluminium braided front hose set for only £17, well it would be rude not to with a full set tipping the scales at £249. On a slight side note, if I were to go new I'd get some Wezmoto hoses . I got some for my NSR250 and they tuned out to be pretty high quality. As you hopefully already know. The VFR800 FI doesn't have simple, separate front and...

Black bits black

Image
Got black bits on your bike? Could they be blacker and less flaky? Well it's time to strip and repaint them as they make your bike look crap. As you can see my VFR was getting a bit flaky around the mirror stems (Just like every other Honda I have owned with this style mirrors. Seeing as I had a few bits of the NSR off for respray  I decided to do the same for the VFR's mirror stems in the same batch. I'll explain the process of dis-assembly followed by respray so you don't have to read everything if you don't need to. To disassemble the mirrors I took the mirror and arm off with the single hex bolt being careful not to loose the spacers inside and remembering the order. Then the two smaller hex bolts need to be removed, allowing the stem base to come off of the fairing. Finally detach the rubber anti vibration spacer from the back of the stem base and we are ready to sort that finish out. Prep for painting required me to lift off any loose paint, rem...

Let the V Force be with you

Image
I'm not a massive sticker fan as they tend to detract from the lines of the bike. This bike had quite a few Team Roberts LTD stickers all over her and although not terrible to look at, they didn't mean allot to me so had to go. I was worried that the old stickers might damage the paint work when I tried to remove them but was relieved to see them wrinkle up and slide off with a bit of pressure using a finger nail.  Not fancying tearing my nails off over this; I went about finding a soft scraper and settled on a paint rattle can lid. When held to make the bottom oval it becomes strong enough to chip away at the transfers without being so strong it scratched the paint work.  For the first couple I used WD40 to soften the adhesive but it didn't make allot of difference and seemed to make the scraper skip over the transfers so did the rest dry. After allot of scraping I used household polish to lift any residual glue by leaving it on there for 10 minutes then b...

Pipe dreams

Image
Pipe Dreams One down side of the mighty Viffer is that due to some boring laws, Honda had to muffle her voice rather more than I'd like. A new can is the obvious answer to this with the added bonus of additional ponies, maybe. Having recently looked at the exhaust system as a whole, I was also in the market for a new system as the old one looked a little suspect in some places. The cost of a system is not cheap. In addition to this I wanted stainless which would make it a bit more and it's for a V4 remember, so that is not going to be a cheap stainless steel octopus I was looking to buy. Well you might think that but as it happens a top individual posted up  a Motad stainless system for a VFR800 with no pictures or further description so with me as the only person daft enough to bid, I won it for £149. Bargain! As you probably expected, I went to my trusted motorcycle pats specialist; eBay. I was however in need of the end can bit and annoyingly other people had th...

Got it covered

Image
A quick and dirty blog update. I wanted a Baglux/ Bagster cover. So I bought one. But being the cheap ass that I am of course it was second hand from ebay. The most interesting thing about this and the whole point in this blog update is that this is a VFR800 VTEC cover. As the VTEC model was built for longer, there are more covers for them in the second hand market and cheaper as a result. They fit the VFR800 FI just as well less the top back corners that are a touch to big where the VTEC's tank flares out more but you can't really notice. The main point is I got a colour matched £100 Baglux cover for £15 win! Also what you might have made out from the background of the image above is a seat cowl. Colour matched and picked up for a fiver. Always worth checking the auction section of ebay! Luckily for me the cowl was marked as scratched so I got it for the minimum bid. The scratch was no worse than I would have expected if nothing was mentioned at all. This ...

Lets get naked

Image
After that little rodent issue I was keen to have a good look around the VFR to see how everything was under there. Images of chewed wires and hoses were in my mind and as yet I hadn't found the culprit so was expecting to find a cooked mouse somewhere. All of the fasteners are hex driven stainless into steel captive nuts or rubberized plugs for the forward fairing. That means they were relatively corrosion free and came off easily bar one rubber plug that had become brittle and required replacing (always worth having a few of these in the draw as they regularly fail). As there was no hand rail the seat unit came off quickly with the light unit in place (just needs unplugging from the loom.The inner front fairing is held in by quarter turn plastic clips that you should remove first as they can be a pain if under strain. The top of this fairing clips into the nose fairing inner fairing so be careful not to snap this when removing it (it is pretty durable though). The fo...

The 170dB alarm clock.

Image
Imagine making yourself a nice place to live. It's roomy, with a springy floor and you fill it with soft bedding to make it into the most comfy nest to get your head down after a long hard day working. One day you are woken by what feels like an earth quake as your room is jolted about. In the darkness you hear a distant jangle and click followed by a brief scream that emanates from below, stopping as fast as it starts. All goes quiet for a moment before your world is turned upside down. A brief rhythmic cranking noise is followed by a tremendous roar. Air rushes past you and apparently into the floor like breath.The roar builds and falls sucking bits of bedding into the creases of the floor. You jolt into action and run  for the entrance, feeling the wind tear at you as you flee. What was once a cold, neglected, man made maze is now rapidly heating into a furnace as you hop and jump your way to the floor only to see what was once your house, bellow off into the distance ap...