Black bits black
Got black bits on your bike?
Could they be blacker and less flaky?
Well it's time to strip and repaint them as they make your bike look crap.
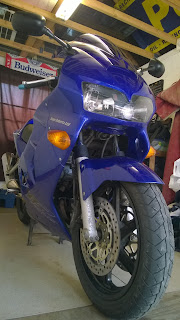
As you can see my VFR was getting a bit flaky around the mirror stems (Just like every other Honda I have owned with this style mirrors.
Seeing as I had a few bits of the NSR off for respray I decided to do the same for the VFR's mirror stems in the same batch. I'll explain the process of dis-assembly followed by respray so you don't have to read everything if you don't need to.
 To disassemble the mirrors I took the mirror and arm off with the single hex bolt being careful not to loose the spacers inside and remembering the order.
 Then the two smaller hex bolts need to be removed, allowing the stem base to come off of the fairing.
Finally detach the rubber anti vibration spacer from the back of the stem base and we are ready to sort that finish out.
Prep for painting required me to lift off any loose paint, remove the corrosion and rough up the undamaged paint so the new paint will stick evenly.
A stiff wire brush lifts the lose paint and furring and would have been ideally followed by wire wool to remove the rest of the corrosion and rough up the paint but I didn't have any so I just used some medium-fine sand paper.
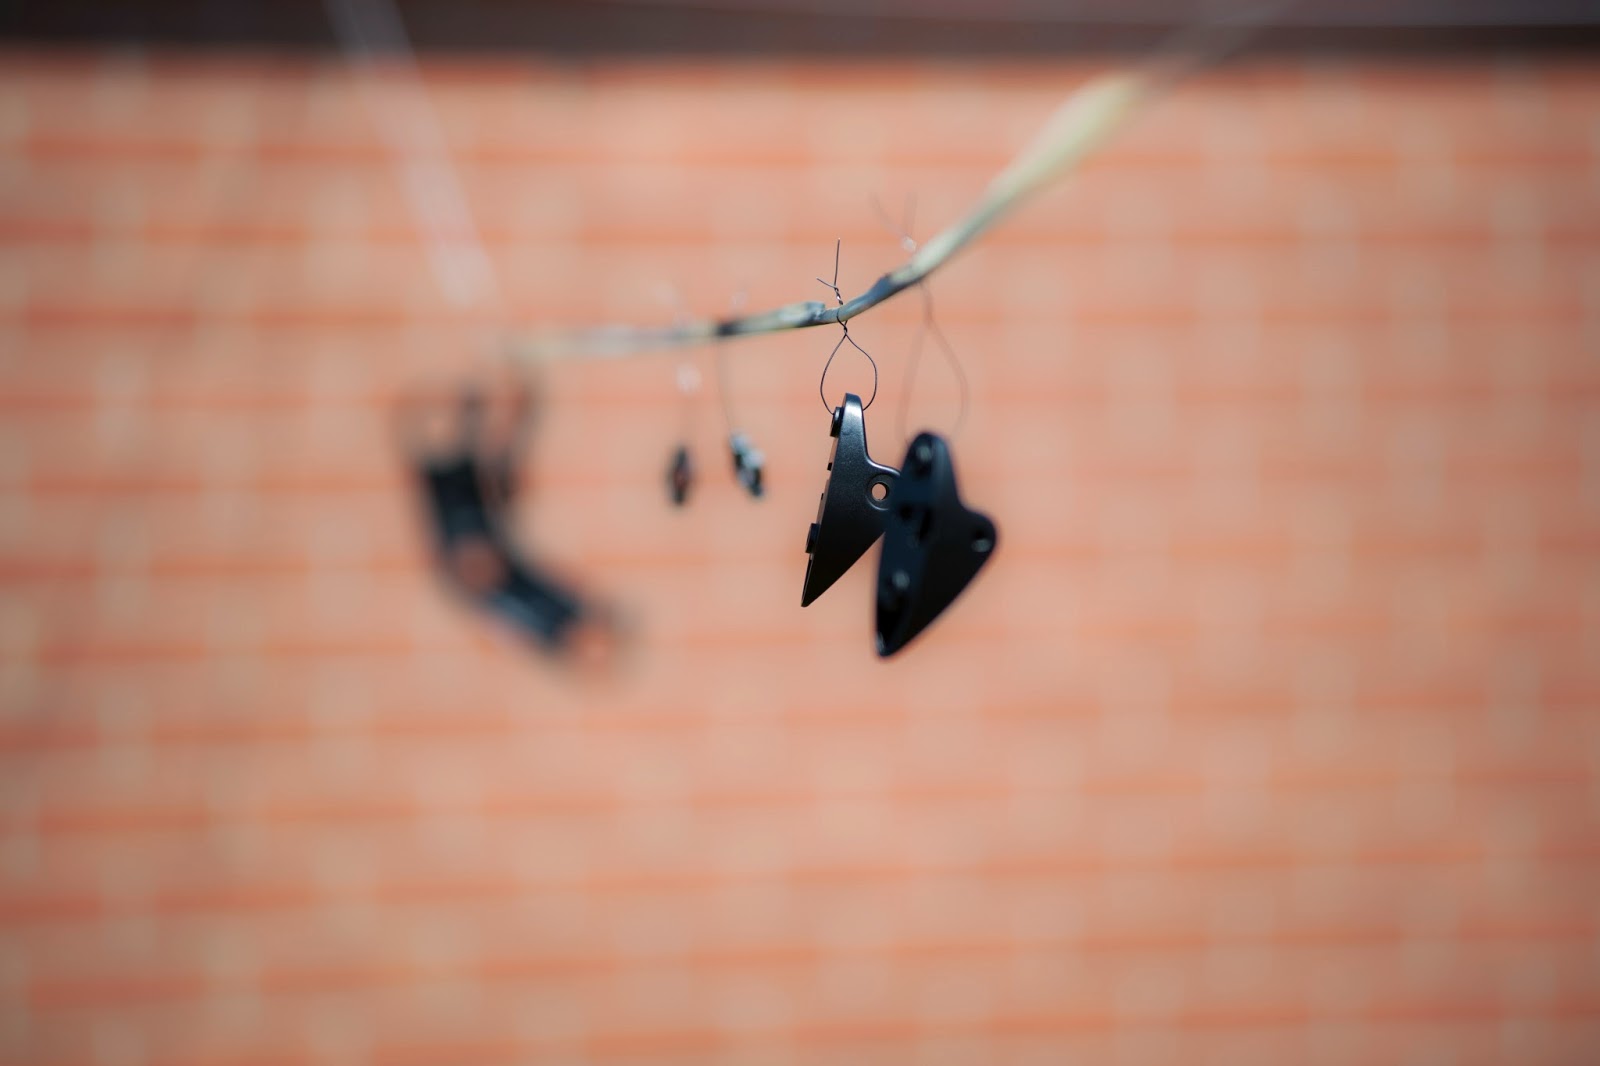
The painting part was done with the parts hung on the washing line using safety/locking wire as seen in the image top. It is a good idea to put some tape on the washing line to to save getting paint all over it.
Then I just worked my down the line on each side so the thin layer of paint was mostly dry before I started the other side so any over lap wouldn't run. I left 15 minutes between each layer as from the start to finish of each layer this meant I was starting at the correct waiting time.
Once I had a few layers down I switched to lacquer and did the same again after giving the outside a light rub down with some very fine wet and dry. The lacquer I was using was extra thick so took a bit longer to dry than the black paint.
Anyway with the job jobbed and a nice long dry time I slung it all back together with the standard added copper slip on the bolt and being careful to get those spacers in the right place. As you can see from the above images it is worth taking a few more minutes to smooth the step between the painted and paint free bits as you can see the step but otherwise this was a worth while improvement.


.jpg)

Comments
Post a Comment